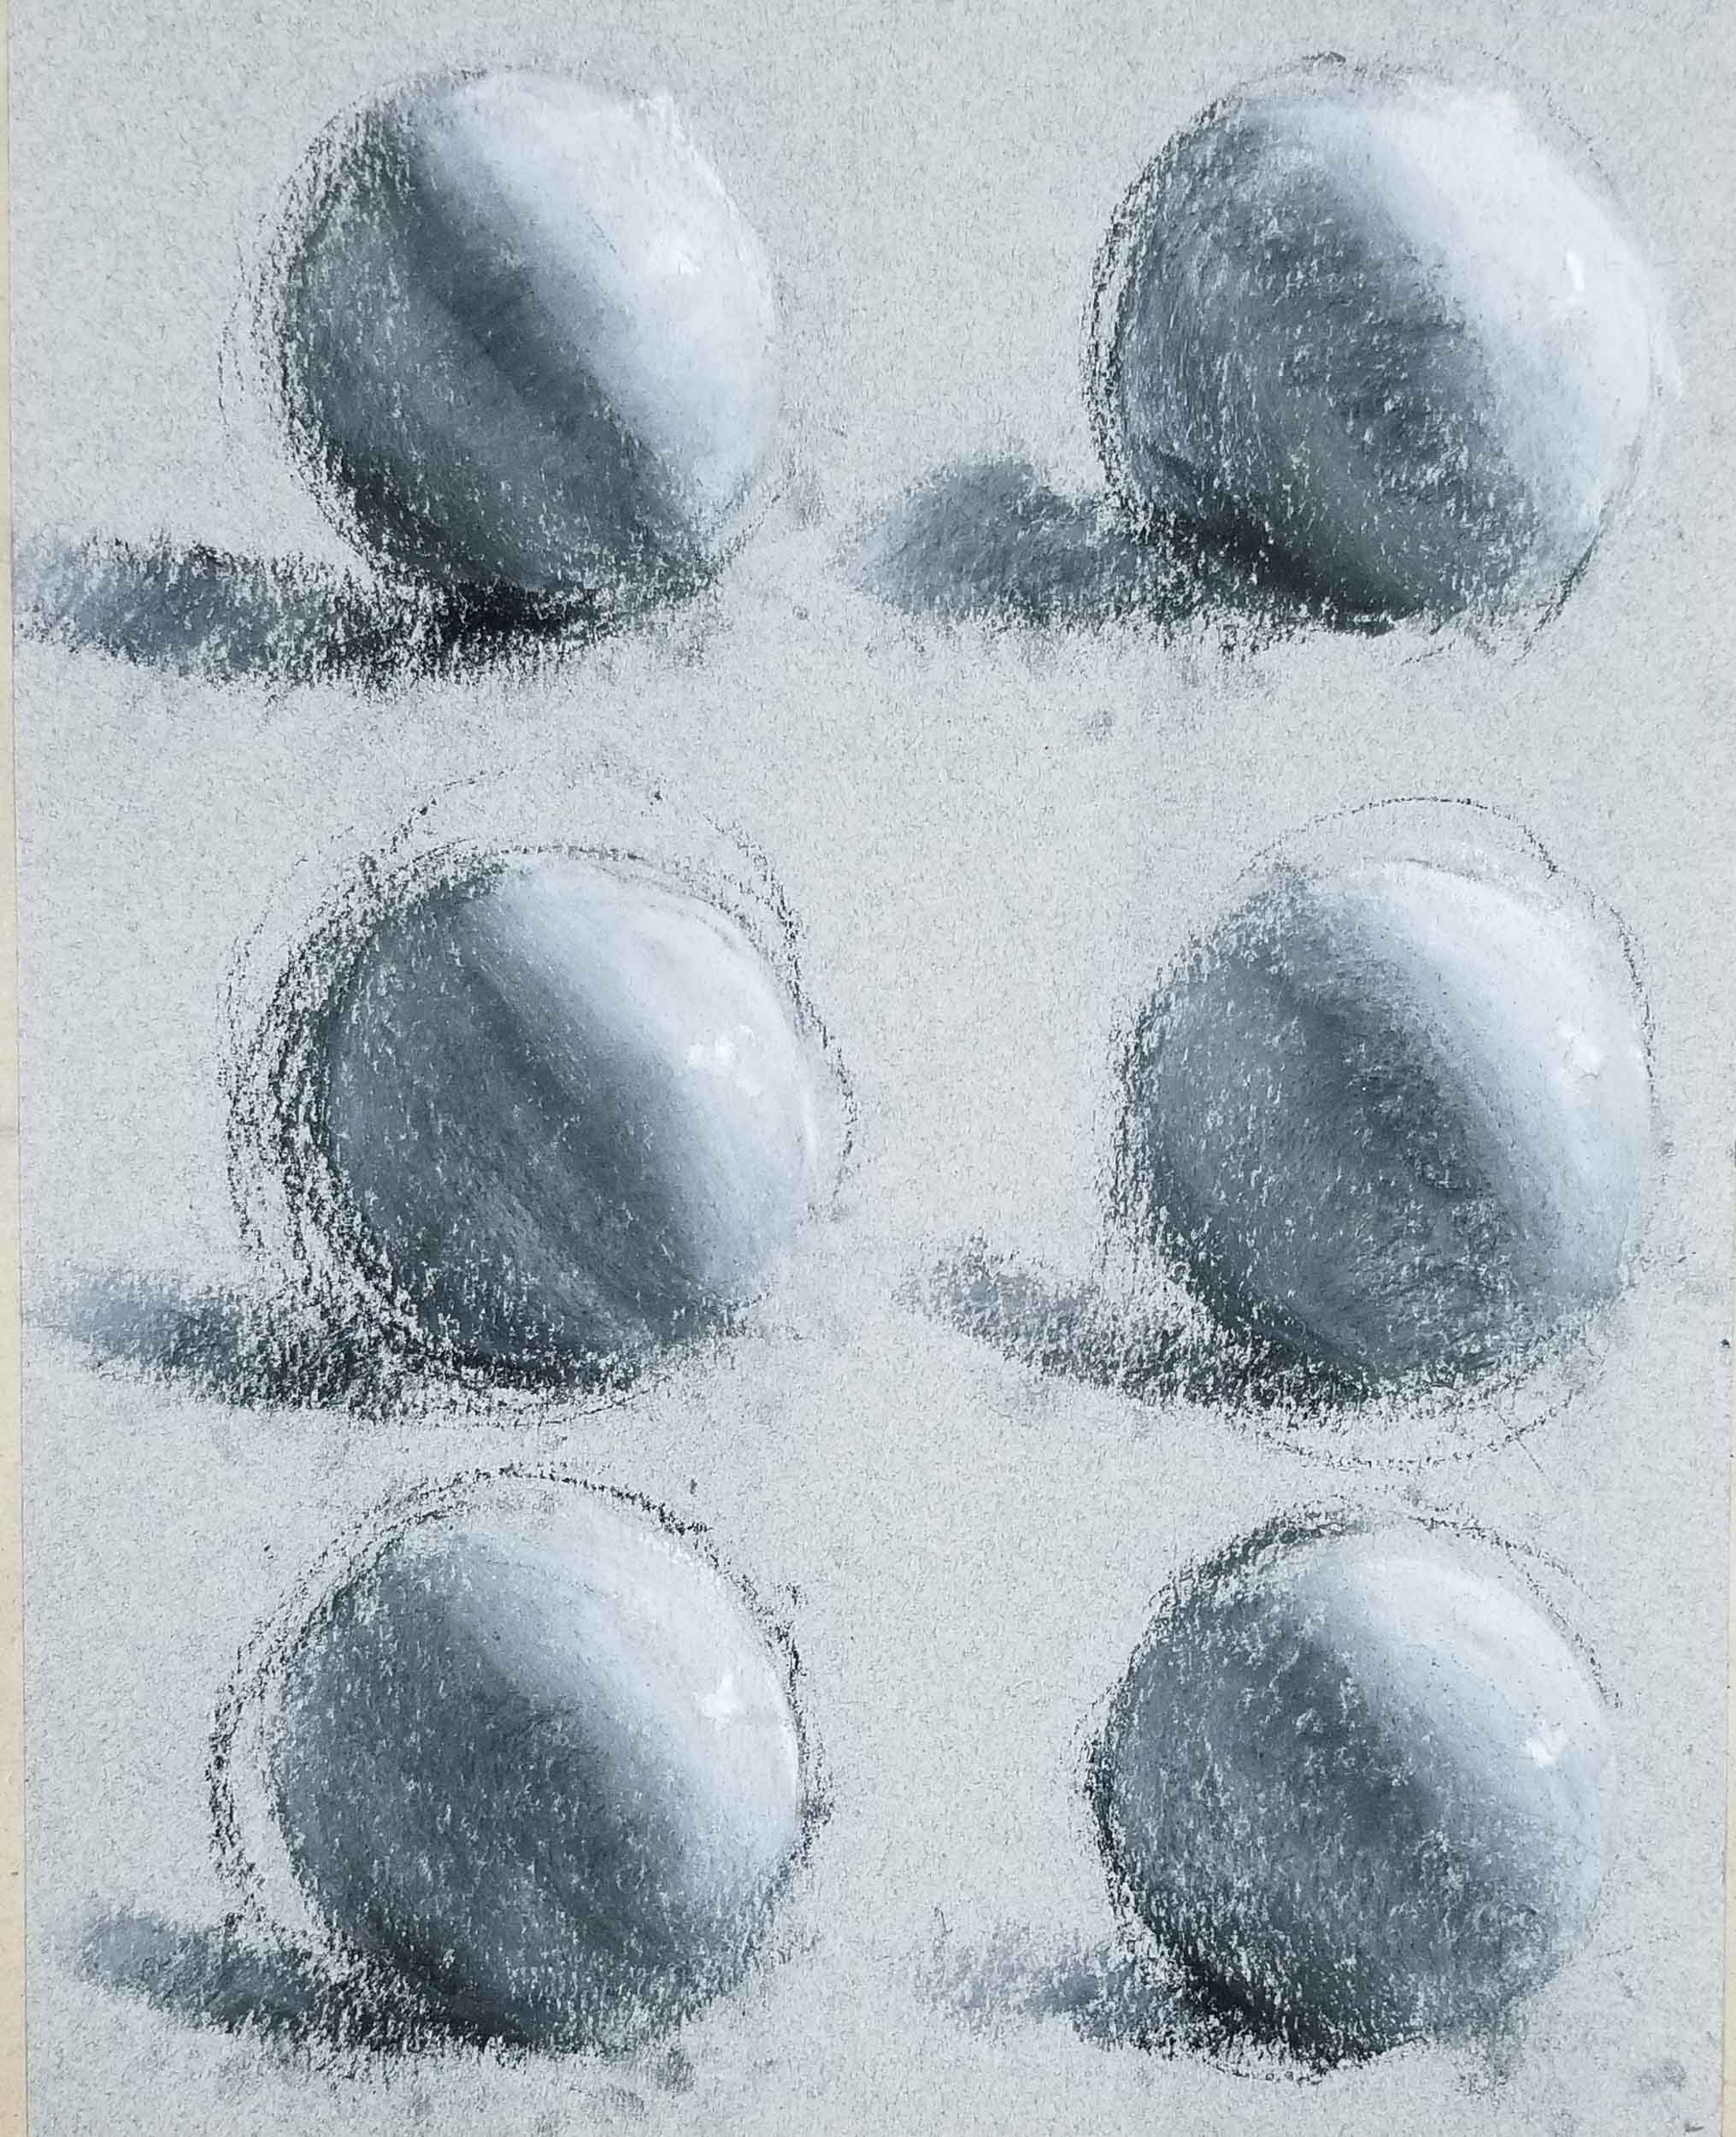
Value Scale, Cross-hatching, and the Charcoal Reduction Method
Observering and reproducing changes in Value
Overview
Alternatively you may use the following website for this exercise.
Remember to follow any rules of the site.
Recommended Settings: Nude and Both Genders
Bring dimensionality to an object by drawing its tonal elements. The shadows and the lights. Discern the scale at which the light changes and apply it to a simple two dimensional contour.
For these pieces you may use your own figure references.
Materials: Charcoal Stick, Charcoal Powder, Eraser
Alternative materials: Sandpaper, Graphite stick
Value Sphere
Materials:
- Charcoal (Vine or stick)
- Eraser
- Paper
- optional Charcoal Powder
- optional Graphite or other Charcoal
Duration: 10 minutes
A continuation of the mechanism of lights lesson. Understand and reproduce a value sphere. Understand the existance of and interaction between various parts of the value sphere.
Value Sphere:
- Draw a circle.
- Fill in the light, core shadow, and cast shadow
- Use your eraser to bring out the highlight, reflected light, and blend. (You may also blend with your finger or other tools)
- Repeat Steps 2 to 3 until the exercise is complete
Cross-hatching
Materials:
- Charcoal or graphite Pencil
- Paper
Duration: 45 minutes
You will be shown various techniques and examples of cross-hatching being used effectively.
Crosshatching can be used as a substitution for shading in order to create differences in value.
Rhythm and repetition play a role in adding gesture in this situation. Explore a possible connection here.
Limb Study: 30 min
- Pull up 4 references and chose a limb
- Choose a light source in your own drawing
- Block in the shapes for the limb from each reference and cross hatch to recreate the light by adding in variations in value (for shadows and such)
- Fix any reflecting light that may occur during overlap.
Note:
- Overlapping and size will be explained before the exercise.
Charcoal Reduction
Materials:
- Charcoal (compressed)
- Paper
- Eraser (Kneaded and Gum)
- alternatively Other Erasers
- optional Charcoal powder
- optional Sandpaper
- Chamois Cloth
- alternatively to cloth Paper Towel
Duration: 45+ (10 and 35+) minutes
A brief overview on the important and types of erasers
Step 1: Tone your Paper
- Cover your paper in compressed charcoal or charcoal powder that you saved from sharpening with sandpaper.
- Rub the charcoal into the paper using a chamois cloth (or whatever material you have such as a paper towel or your hands).
Charcoal Reduction: 35+ min
- Use your charcoal pencil to block in the shape of the figure.
- Use your compressed or dark charcoal to find the core shadows.
- Use your eraser to bring out the lights and highlights.
- Pay attention the the texture.
- I will alert you when it is time to stop.
Submit for Critique
If you did not use the same reference we did on the stream, submit your picture. Include your Twitch name if you do this exercise on a different day after the stream as critiques will be exchanged for !Kokos. If you used a stock photo from a DeviantArt page be kind enough to drop them a link of what you did! Follow their Stock Rules.
Submit via Google Forms
OR
Submit in #drawing_lessons on Discord


